Taking photos of your work is the single most important way to market yourself as a nail professional. A well-composed photo of your work, shared on social media, is the easiest way to demonstrate your skills as the fabulously talented nail tech that you are. Showing off what you can do, as a result of the training, practice, and continuing education that you’ve acquired, is an invaluable tool, especially in photo form. 7 WAYS YOU’RE MESSING UP YOUR NAIL PHOTOS (HOW TO FIX THEM)
We all know that building a clientele is a tough task, so using social media to market yourself is the most effective way to advertise services and new products at your nail desk. Instagram, a Facebook page, and a website are the bare minimum in the nail business, and are among the most cost-effective advertising methods.
Filling those spaces with gorgeous photos of your work is imperative. But taking just ANY photo won’t do. Here are the seven ways that nail techs are messing up the photos of their work.
1. Bad lighting/One light source
What was I thinking?
Lighting your photos correctly is step one. We recommend at least two light sources to achieve the optimum conditions to show your work in the best light. (ha!)
On the many, many photoshoots we’ve been a part of, we always pay attention to how the photographers light the models. If there is one light source, it is usually diffused or bounced around to make sure the light makes the model look as beautiful as possible. A single light source, if not diffused (blocked or regulated with a shade or filter) can make the subject of your photos look washed out, or under interrogation.
Using a light box is one of the easiest ways to achieve a professional-looking photo. You don’t have to spend a ton of money to make a light box for your nail studio that you can easily and quickly plunk down on your nail desk and have your clients place their hands inside. Or if you’d rather purchase a ready-made light box, we like this one and this one from Amazon. You can use your table lamp for the main lighting source, and place one or two lights around the outside of the light box to get that gorgeous, diffused glow.
The whole point of diffusing light and using a light box in the first place is to eliminate hard shadows and those pesky, harsh lines of light on the nails themselves. It allows for better viewing of the nails themselves, thus showing off the finish of the polish, the superior shape of the enhancement, and the intricacy of your nail art.
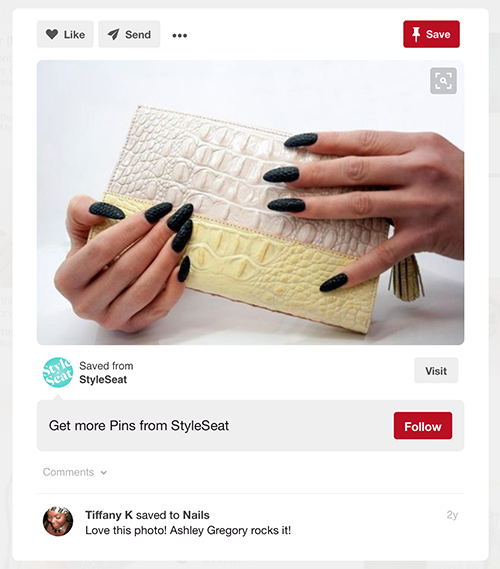
2. Poor posing/The “Claw”
Yikes. #awkward
Posing the hand requires some knowledge of composition and a compliant client. We’re not above moving the client’s individual fingers to achieve the perfect positioning, after all, we’re the experts. And for those problem clients who aren’t able to just fall into the perfect pose, we love props! Give them the polish bottle or a brush to hold in order to help them focus on something else besides finger positioning.
This just looks like a pile of fingers
The “Claw” isn’t the only posing sin committed, by far. We also don’t recommend the interlaced fingers pose, the spread finger pose, and the “grabbing a giant fake diamond” pose either. Anything where the fingers look unnaturally positioned or under stress distract from the nails and the entire point of the photo in the first place – showcasing the work.
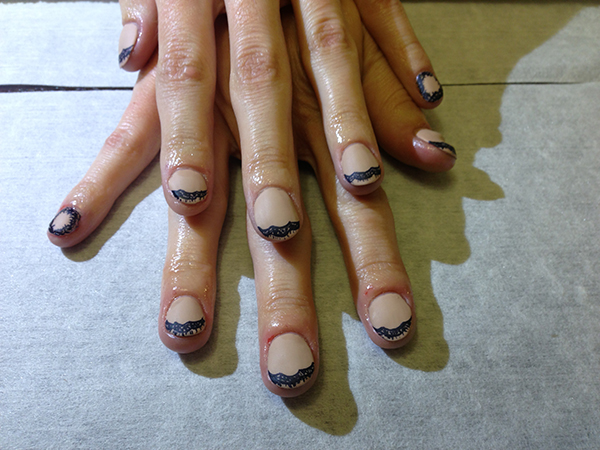
3. Too much hand, not enough nails
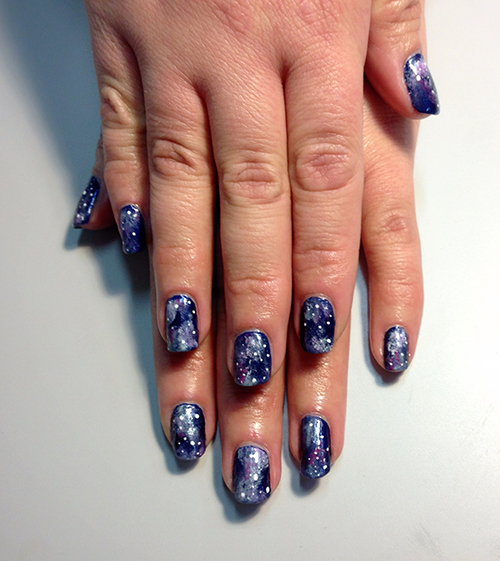
I know they’re galaxy, but the photo doesn’t need to be taken from actual space
Another aspect of composition: the nails should really be the star. Posing your clients’ hands is paramount to ensuring you get the best photo possible. In the above example, the client has lovely hands, but the nails are too far away from the camera to get an accurate read on how they actually look.
There is a case to be made for taking the photo a bit further away and then cropping in later. This is a good idea when taking photos with smart phones. Avoid zooming in whenever possible, as the quality of the image is lessened when zooming in on the subject. But in order to do this, you have to have the nails positioned correctly. If we were to go back and try to crop in on the nails in the example photo, we would have to make a decision about which nails to cut out of the frame. If we had positioned our client correctly, we could crop in on all of the nails and make it a much better looking final product.
4. Neglecting to watermark
Watermarking is important to make you searchable to potential clients
We’ve all heard and seen horror stories about photos being stolen and used to promote other nail techs. This is a common occurrence that can be helped by watermarking your photos or using a step and repeat backdrop with your logo or Instagram handle.
Watermarking is important not only to protect your work, but to make it easy for clients to find you from a photo of your fabulous nails, and book an appointment with you. Posting a photo on social media means it can be shared, and the most important part of that is being able to be found after the fact. Make sure your watermark is your instagram or salon name, so that clients can easily find you in a simple search. If you search the wording in your watermark, what comes up? Make it as easy as possible for potential clients to find you and book you.
There are several apps that allow you to watermark from your phone or computer. We use Adobe Photoshop Creative Cloud, which is Photoshop without spending hundreds of dollars for the program. You can pay for it yearly or monthly, and it is our favorite medium for watermarking and retouching photos. On our smartphone, we use Picframe to crop and watermark our work. The “label” function allows us to put our Instagram account info on the photo, along with toggling how transparent the watermark is. There are many apps out there that allow you to use your logo or photo for a watermark.
A word of caution: make sure the watermark isn’t placed in a way that distracts from the nails. We get it, you want to protect your work and promote your name. Just make sure that your name isn’t the focus. It’s about the nails.
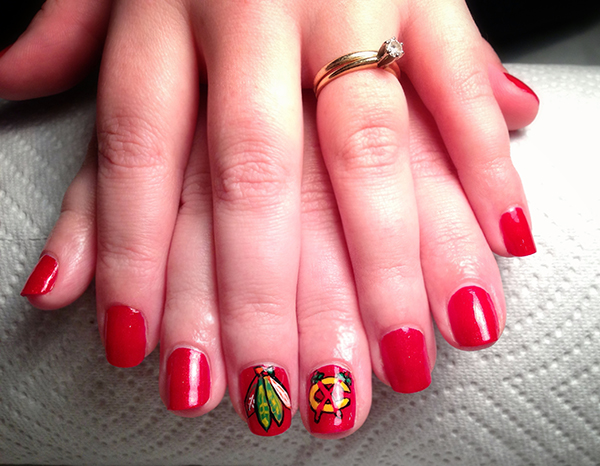
5. Not editing the photo
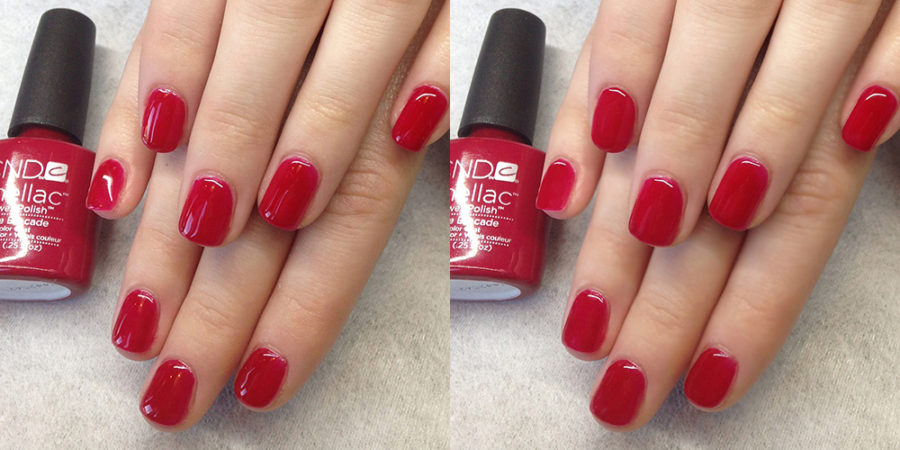
Unretouched (L) vs Retouched (R). Editing your photos ensures you put your best foot forward and can make you a better nail tech
The subject of editing photos can be a bit of a powder keg. There is one school that believes that editing photos is tantamount to lying. We are firmly in the camp that every photo out there is retouched, and the only way to compete is to think like the big brands. Don’t get us wrong, we fully expect clean work from ourselves, and we try to achieve perfection in the camera, not in post. However, in the age of millions of megapixels, the camera can catch what the human eye can’t.
It is with this knowledge that we suggest that you retouch any and all photos you’re posting before you do so. Having this critical eye over your work will make you a better nail tech; we guarantee it. There is nothing more beneficial than going over your work a few hours after you finish to see that maybe you didn’t remove all of the cuticle, and maybe your hand cream isn’t as moisturizing as you thought. It’s also a great way to bust those clients who SWEAR they use cuticle oil in between visits, but you know better. Knowing what to look for next time, will ensure that you create picture perfect nails before any Photoshop is applied.
In the above example, we thought about what we wanted the photo to convey. The color red is so impactful that we decided to remove the reflections caused by the window behind our table, which really distract from the gorgeous red Shellac we used. It doesn’t make the nails look any better or worse; it just communicates the impact better than the unretouched photo. You’re adding a watermark anyway, so why not clean up any waving cuticle or hang nails while you’re at it?
We use Snapseed on iPhone for mobile retouching, along with Line Camera to smooth and soften our clients’ hands. Hands are innately wrinkly, and just look better smoothed a little. Remember: it’s about the nails.
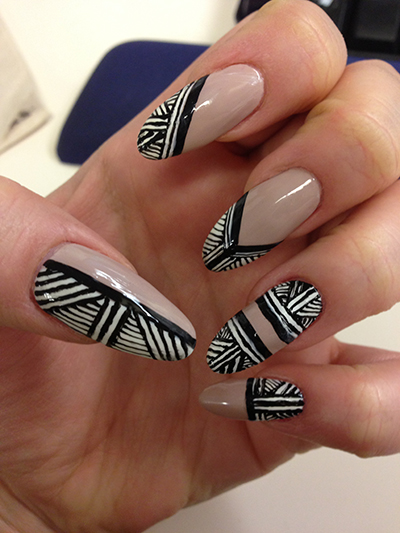
6. Over-editing the photo
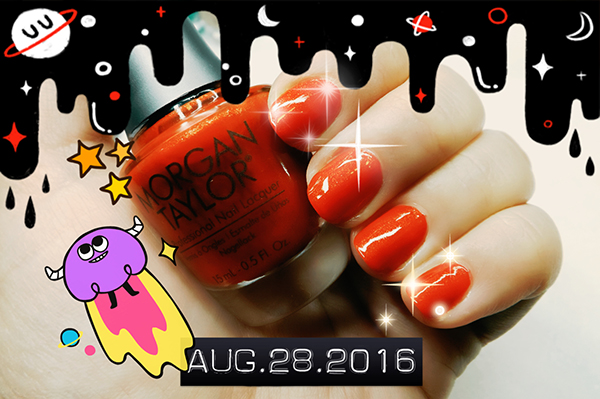
You can take editing too far. Remember, less is more. What is the focus here?
It can be very tough to resist the urge to over-edit once you get started. We use the healing brush tool and a little bit of blur in Photoshop, and then it’s done. No one has hours and hours to spend recreating a set of nails in Photoshop, and if they do, they make a lot of money for it.
When you’re finished with your edit, ask yourself if the nails are still the focus? It can seem like a lot of fun to manipulate the image into the one above. However, the above image is all over the place, and the addition of starburst, lens flares, emojis, and stickers seems to convey a little bit of insecurity about our work. Let the nails shine and don’t make the image too “plastic.” It needs to look polished, but not overly so – the hands should still look human.
7. Not taking one at all!

We’ve all been there: forgetting to take an image is the worst feeling
How many times have you created the most amazing nail art, and because your next appointment is already waiting, you feel rushed and forget to take a photo? Bake it into your appointment times, and make it a habit. Relying on clients to send us photos after they’ve left the salon can be a big gamble. They usually don’t know about the seven methods for taking a great photo that we’ve lined out here, so you’ll probably get something poorly posed or not well lit. Keep control of the equation and set an alarm in your phone if you need to remind yourself to take a photo.
Only post photos of your best work, the work you feel will attract your desired clientele. If you don’t love the photo, don’t post it. Use it as a learning experience for next time. Reviewing photos of your work is the best way to grow. Look back at the photos you’ve posted a year, two years, five years ago, and see how you’ve improved.
All of the examples in this post are our photos. We didn’t want to shame anyone else by using their photos as examples for what not to do. We’re pretty proud of how far we’ve come, and hope you found this information useful in creating the best possible photos of your work. Try each technique and compare and contrast, see what works for you in your set up and salon.
7 WAYS YOU’RE MESSING UP YOUR NAIL PHOTOS (HOW TO FIX THEM)
Using the 7 suggestions above, we’ve made our photos the best they can be
Over to you: Are you guilty of any of the seven “deadly sins” named above? As you can see, we were guilty of all of them at one point or another. Which one (or two) will you focus on for the future?
You might also like